
Blog Post 14 - Editing!
- luhoward
- Feb 20, 2024
- 3 min read
Updated: Apr 18, 2024
Every single time when I import the footage from my R6 into Davinchi Resolve, I scream and yell and jump off the roof with that goddamn H265 Clog3. (I am using a 2019 intel mac, no hardware accelerator for 265) After an hour of nightmare transcoding the media and getting my computer lagging and exploding, I can finally start my editing process.

The editing was not very friendly to me, considering my computer capabilities and how the footage is so ridiculous to figure out an editing logic. We eventually end up with a bit of footage shortage, but I might be able to fix that with more After Effects.
After the first editing, I discovered that my lip-sync was not synced to the footage since the original song was published in 44.1khz, and all of my clips are 48khz.
I almost smashed my computer.

I finally got things ongoing after converting the CD from 44.1khz to 48khz in logic.
The Editing kind of follows the logic of our storyboard, but not quite. I figured out something I did not even come up with in the preproduction. Louis imagines the goat as Danny because I did not know there was a goat there. Goat symbols are devils in Western mythologies, so we unjustified the innocent goat and made him the ultimate villain who induces Louis into a psychopath or whatever that is.
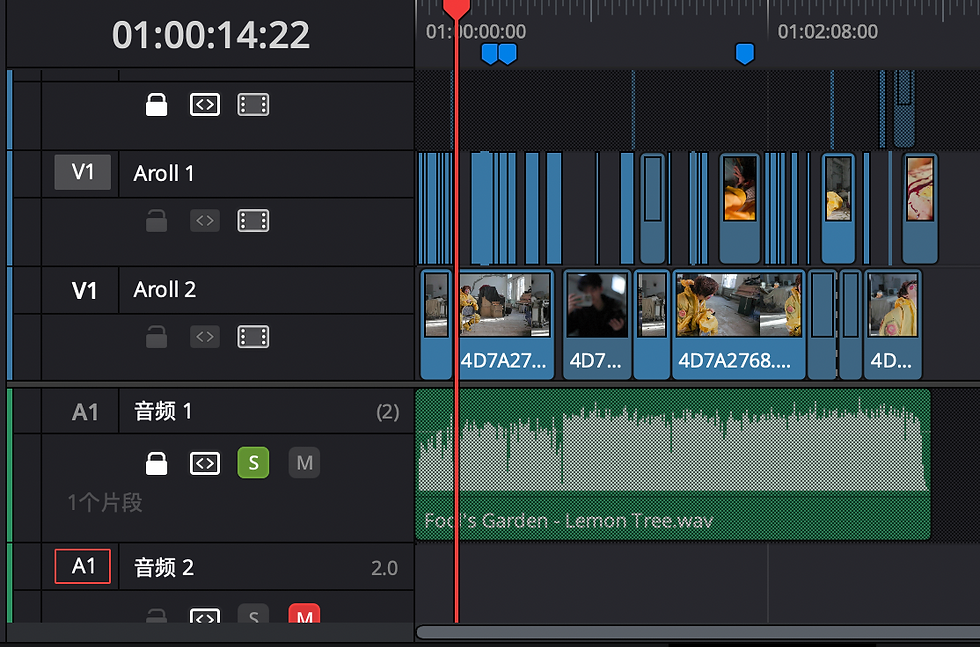
By playing the recording during the shooting session, I can align the footage with the music afterward despite my camera not having a time code. And that's why I encountered the sample rate issue.
I accomplished the editing with two timelines. However, leaving everything on two tracks is probably not a good habit, which will drive the colour-grading guy crazy. But I'm the colour-grading guy, so I don't care.

Overall, I like my cinematography, especially the handheld close-up part. It creates a volatile feeling, which adds to our psychopathic atmosphere. My editing style is to try to outline our cinematography more by switching different shots slowly. (This is partly because we are running short on footage.) This also gives our audiences more time to interpret our mise en sense, especially since we have much going on with our costumes. Some shots contribute as a hit point to the music, enhancing our visual impact.
And my favorite part: Colour grading
I am probably the only one in the class who properly color-graded everything from scratch, including Converting log videos and correcting the white balance.
Interestingly, I was shooting film tapes in my spare time, so I decided to make the images look like film. By tilting all of the RGB rather than just dragging the color wheels, which I'm pretty sure tilting RGB is not how film tapes work, I did get some good colors.

The whole MV is colored graded based on green and cyan, contrasting with yellow and red to fit our sinister setting.

I regret overexposing my clog 3 two steps right, which many YouTubers tell people to do. I almost lost all the details in the highlight area. (Or blame me for not having enough money to buy a DGO sensor video camera, namely a RED or C70)
Though it is not terrible, I did spend time on it.
The dynamic range makes my images a bit too contrasting, so I had to tune down the contrast in many shots. Though that is not a big deal, I also spent time on it.
FX
NIGHTMARE!
My computer explodes if I drag any special effects preset onto any clips. But I ended up applying some of the FX to my shots.
All the shots used to have a "Film grain" preset and a "Film halo" preset. It does look a bit dreamy, but my Mac literally dies. So I ended up with some old camera presets, some monitor presets, and motion blur until the end, just to create more of a dreamy feel.

Overall, I feel the editing is all right. Everything is done in one go. I did improve on color grading skills. But one thing for sure is I need to update my computer. Even spamming the "Create optimized media" Button does not work.


Comments